Timeline of a Typical Residential Roof Installation Project
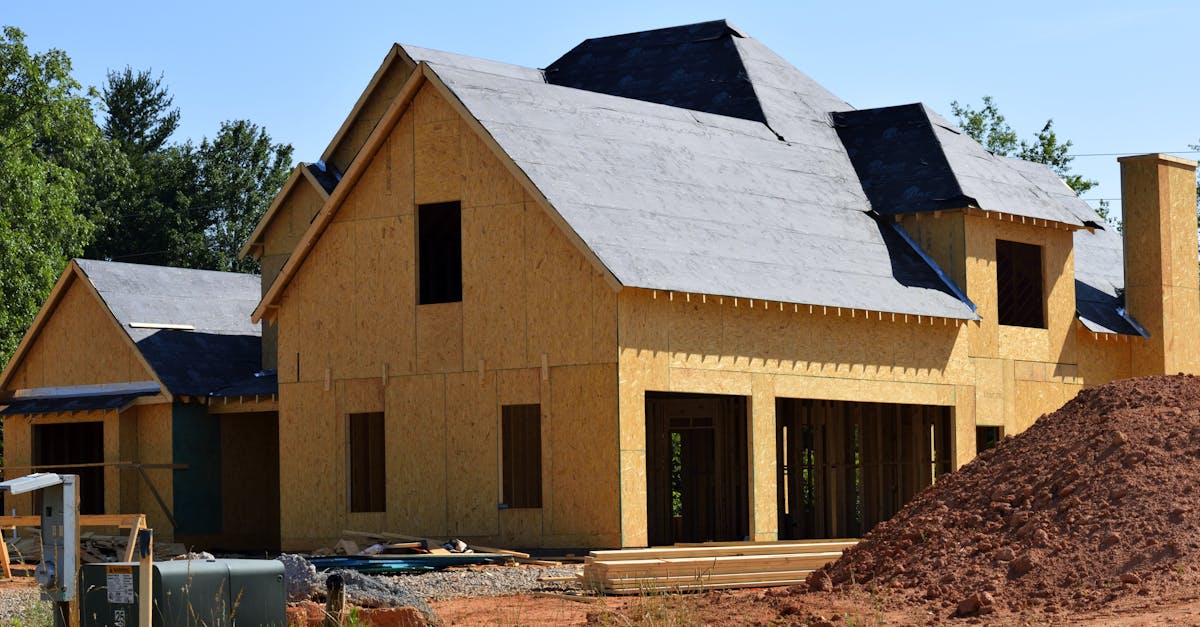
Table Of Contents
Removing Old Roofing
The process begins with a thorough inspection of the existing roof structure. Any signs of damage, such as leaks or missing shingles, must be addressed before removal starts. Safety equipment, including harnesses and hard hats, is essential to protect workers from potential hazards. Tools like roofing shovels and pry bars help in efficiently lifting and removing old materials. It’s important to work in small sections to maintain control and minimize the risk of any debris falling onto the property below.
Once the old roofing is stripped away, debris should be promptly cleared from the work area to ensure safety and organization. The decking underneath should be examined for rot, mold, or other structural issues that could compromise the new installation. Any necessary repairs should be made to the decking before proceeding further. This careful preparation lays the groundwork for a successful roofing project, significantly impacting the longevity and performance of the new roofing material.
Discover more here.
Steps for Safe Removal
Before starting the removal process, it is crucial to ensure the safety of everyone involved. Workers should wear appropriate personal protective equipment, including hard hats, gloves, and non-slip boots. Secure the area by setting up caution tape and barriers to keep bystanders at a safe distance. Additionally, checking the weather can help mitigate risks associated with rain or high winds, which can create hazardous conditions on the roof.
Once safety measures are in place, the actual removal of old roofing materials can begin. Start by carefully taking off the shingles or roof tiles, ensuring that you do not damage the underlying structure. Use the correct tools, such as a roofing shovel or pry bar, for efficient removal. Pay special attention to underlying layers, including flashing and underlayment, as these materials must also be properly detached to prepare for the new roofing installation. Remove debris as you work to maintain a clean and safe environment.
Installing Underlayment
Underlayment serves as a crucial component in roofing systems, acting as an additional layer of protection beneath the shingles. This material provides a barrier against water, preventing leaks that can arise from rain and snow. It also adds an extra layer of insulation, which can contribute to energy efficiency by minimizing heat loss in colder months. The selection of the right type of underlayment, whether synthetic or felt, depends on the specific needs of the home and the climate in which it is located.
Proper installation of underlayment is essential for maximizing its benefits. The rolls or sheets should be laid out starting at the eaves, overlapping each row to ensure water runs off rather than seeping through seams. It is important to secure the underlayment with nails or staples, taking care to avoid excessive punctuating that might compromise its water-resistant properties. Ensuring that the underlayment is smooth, wrinkle-free, and securely fastened sets the stage for an effective roofing system that performs well over time.
Importance of a Solid Base
Establishing a reliable underlayment is crucial to ensure the long-term performance of a roof. It acts as a barrier against moisture and provides an additional layer of protection against wind-driven rain. The quality of the underlayment can dramatically influence the lifespan of the roofing material placed on top. A poor base can lead to leaks and damage, ultimately compromising the entire roofing structure.
Proper installation of the underlayment also aids in temperature regulation and can improve energy efficiency. It helps in preventing heat loss during colder months while keeping the home cooler during summer. Ensuring that this layer is correctly installed sets the stage for the successful application of the new roofing material, providing a solid foundation to support and extend the overall durability of the roof.
Laying Down New Roofing
The installation of new roofing requires careful planning to ensure durability and aesthetics. Workers typically begin by laying down the roofing materials from the bottom edge of the roof and moving upwards. This technique helps to create an effective water-shedding system, preventing leaks. Each row of shingles or tiles is carefully aligned, with overlaps designed to protect against wind-driven rain. Proper nails and fastening methods are vital for long-term performance, reducing the risk of blow-offs during harsh weather conditions.
Attention to detail remains crucial throughout the installation process. Roofers must follow manufacturer guidelines to ensure warranties remain valid. Additionally, roof ventilation is an important consideration, impacting energy efficiency and extending the lifespan of the roofing materials. Techniques such as using starter strips and ridge caps can enhance both functionality and visual appeal. Overall, a systematic approach guarantees that the new roof not only meets safety standards but also enhances the home's curb appeal.
Techniques for Effective Installation
When installing new roofing, precision is crucial to ensure longevity and effectiveness. A common method is to start at the eaves and work upwards toward the ridge. This allows for proper water runoff and prevents leaks. Each shingle should be staggered with the seams of the underlying layers to create a solid barrier against the elements. Utilization of roofing nails rather than staples provides added security, allowing shingles to withstand wind uplift.
Proper ventilation should also be taken into account during installation. This involves placing vents in appropriate locations to facilitate air circulation within the roof space. Adequate ventilation reduces the risk of moisture buildup, which can lead to mold and structural damage. Installing flashing around chimneys, valleys, and vent pipes is essential to direct water away and protect vulnerable areas. Taking these techniques into consideration helps in achieving a roof that not only looks great but also serves its purpose effectively over time.
FAQS
How long does a typical residential roof installation project take?
A typical residential roof installation project can take anywhere from a few days to a couple of weeks, depending on the size of the roof, the type of materials used, and weather conditions.
Why is it important to remove the old roofing before installing a new one?
Removing the old roofing allows for a thorough inspection of the roof structure, helps prevent moisture issues, and ensures that the new roofing material adheres properly for maximum longevity.
What is underlayment and why is it necessary?
Underlayment is a protective layer installed underneath the roofing material, providing an extra barrier against water and wind. It is crucial for preventing leaks and ensuring a solid base for the new roofing.
What techniques are commonly used for laying down new roofing?
Common techniques include starting from the bottom and working up, overlapping shingles for proper water drainage, and ensuring proper nailing patterns to secure the roofing materials effectively.
Can I stay in my home during the roof installation?
While it is often possible to stay in your home during roof installation, it may be noisy and disruptive. It's advisable to make arrangements for pets and to stay clear of the work area for safety reasons.
Related Links
Impact of Weather Conditions on Roof InstallationSafety Precautions During Residential Roof Installation