Installation Techniques for Asphalt Shingles
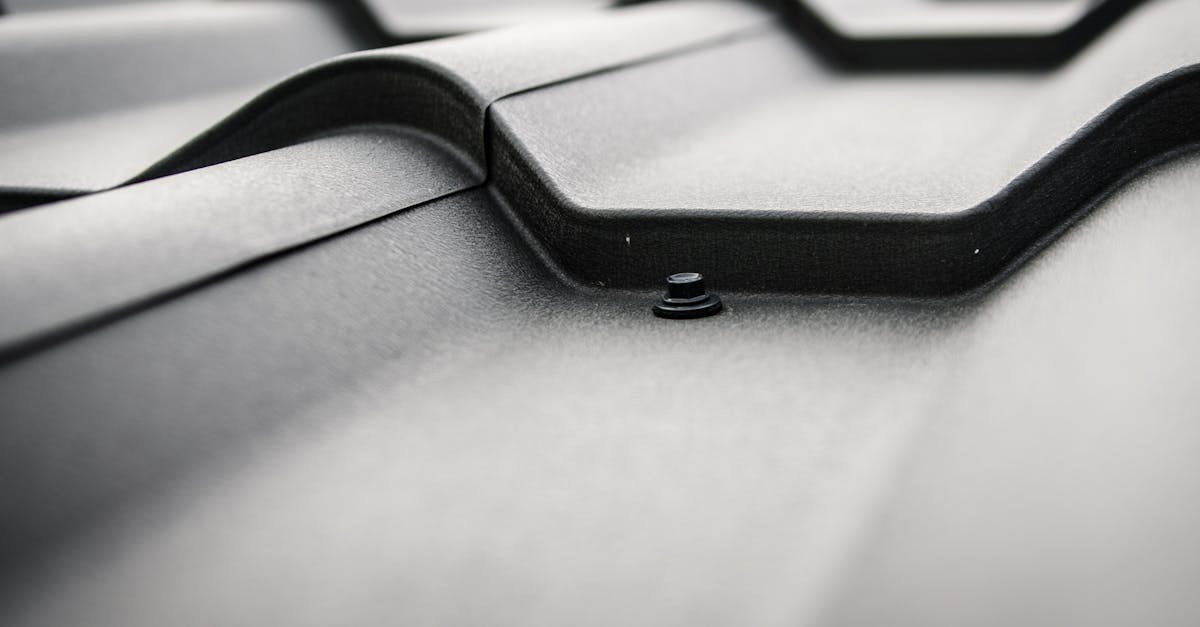
Table Of Contents
Ensuring Proper Overlap
Proper overlap is crucial for the effectiveness of asphalt shingles. Each shingle should extend over the one below it by a specific amount, typically around 5 to 6 inches. This overlap prevents water from seeping beneath the shingles during heavy rainfall. Occasionally, local building codes may dictate specific requirements regarding overlaps based on regional weather patterns. Understanding these guidelines ensures optimal protection and durability.
When installing the shingles, ensure that the rows align correctly. Misalignment can lead to gaps, which may result in leaks over time. The starter strip should be installed first, creating a solid foundation for the subsequent rows. Regularly checking the alignment as you work can save significant time and effort later, preventing issues that often arise from improper installation.
Discover more here.
Calculating the Right Exposure for Maximum Efficiency
When installing asphalt shingles, achieving the correct exposure is crucial for optimal performance and longevity. The exposure refers to the amount of each shingle that is visible after installation. Typically, this measurement ranges from five to six inches, depending on the specific design and manufacturer's guidelines. Proper exposure ensures that the shingles provide adequate protection against the elements while maintaining a uniform appearance across the roof.
To calculate the right exposure, measure the width of the shingles and determine the desired overlap. This calculation will guide how much of each tile will be revealed once laid down. Understanding local climate conditions can also influence exposure settings. In regions prone to heavy rainfall or snowfall, increased exposure might lead to reduced protection, necessitating an adjustment to the typical measurements for added security against leaks and water intrusion.
Flashing Installation
Flashing serves as a critical barrier against water intrusion, protecting vulnerable areas of a roof where different surfaces meet. Proper installation involves securing flashing around chimneys, vents, and valleys to direct water away from these high-risk zones. It is essential to choose the right type of flashing material based on the specific roofing structure and local climate conditions. Aluminum and galvanized steel are popular choices for their durability and resistance to corrosion.
Careful attention to detail during the installation process significantly reduces the chances of leaks. Flashing should overlap shingle layers appropriately to ensure direct water flow towards the roof's edge. Maintaining proper sealing at joints and edges is equally important. Utilizing roofing cement or sealant can provide additional protection in areas where flashing meets other materials, thereby enhancing the overall waterproofing of the roof system.
Key Areas Needing Flashing for Leak Prevention
Proper flashing installation is crucial in preventing leaks, particularly in areas where different materials meet. Roof valleys, where two slopes intersect, require special attention. The design of these valleys directs water flow, making them susceptible to pooling and subsequent leaks if not properly sealed. Additionally, around chimneys and skylights, flashing must provide a barrier against water penetration. Any gaps or improperly installed flashing can compromise the integrity of the roof.
Penetrations for vents and plumbing stacks are also critical areas that necessitate careful flashing techniques. These openings disrupt the continuity of the roofing material, creating potential vulnerabilities. Flashing should be installed to direct water away from these areas effectively. It's important to ensure that the flashing overlaps the shingles and is adequately sealed to minimize the risk of leaks in these high-exposure spots. Proper attention to these key areas helps safeguard against long-term damage to the roofing structure.
Ventilation Considerations
Effective ventilation plays a crucial role in maintaining the longevity of asphalt shingles. Proper airflow helps regulate the temperature and moisture levels within the attic space. Excess heat can warp shingles and cause premature aging, while trapped moisture can lead to mold and roof deterioration. Installing adequate vents can alleviate these issues, ensuring that both the roof and underlying structures remain in good condition.
Attic ventilation can be achieved through various methods, including ridge vents, gable vents, and soffit vents. A balanced system that allows for fresh air intake at the bottom and exhausted air at the top optimizes airflow. This balance prevents the buildup of heat and humidity, which can significantly enhance the performance of the asphalt shingles. Homeowners should assess their roofing system to determine the best ventilation solution tailored to their specific needs.
Importance of Roof Ventilation in Shingle Longevity
Effective roof ventilation plays a crucial role in extending the lifespan of asphalt shingles. When air circulates properly within the attic space, it helps to regulate temperature and moisture levels. Excessive heat buildup can degrade shingle materials over time, leading to premature aging and potential failures. A well-ventilated roof ensures that shingles maintain their integrity, resisting warping and cracking caused by high temperatures.
In addition to temperature control, proper ventilation minimizes the risk of moisture accumulation. Trapped moisture can lead to mold growth and wood rot, affecting both the roofing system and the underlying structure. Ensuring adequate airflow helps to prevent these issues, ultimately contributing to the durability of shingles. Regular inspections of ventilation systems can help maintain optimal performance and promote a healthier roofing environment.
FAQS
What is the importance of proper overlap when installing asphalt shingles?
Proper overlap ensures that the shingles are layered correctly, which helps prevent water infiltration and increases the overall durability of the roof.
How do I calculate the right exposure for asphalt shingles?
The right exposure can be calculated by measuring the width of the shingle and determining how much of it will be visible after installation, typically following the manufacturer's guidelines for maximum efficiency.
Where should flashing be installed on a roof?
Flashing should be installed in key areas such as roof valleys, chimneys, around vents, and at wall intersections to prevent leaks and protect vulnerable spots on the roof.
Why is proper ventilation important for asphalt shingle roofs?
Proper ventilation is crucial for maintaining a balanced temperature in the attic, which helps prevent moisture buildup and extends the lifespan of the shingles.
How does roof ventilation contribute to the longevity of asphalt shingles?
Roof ventilation helps regulate temperature and moisture levels, reducing the risk of damage from heat and humidity, which can compromise the integrity of the shingles and shorten their lifespan.
Related Links
Best Practices for Maintaining Asphalt Shingle RoofsComparing Asphalt Shingles to Other Roofing Materials