Installation Steps for Ridge Vents in Roof Systems
Table Of Contents
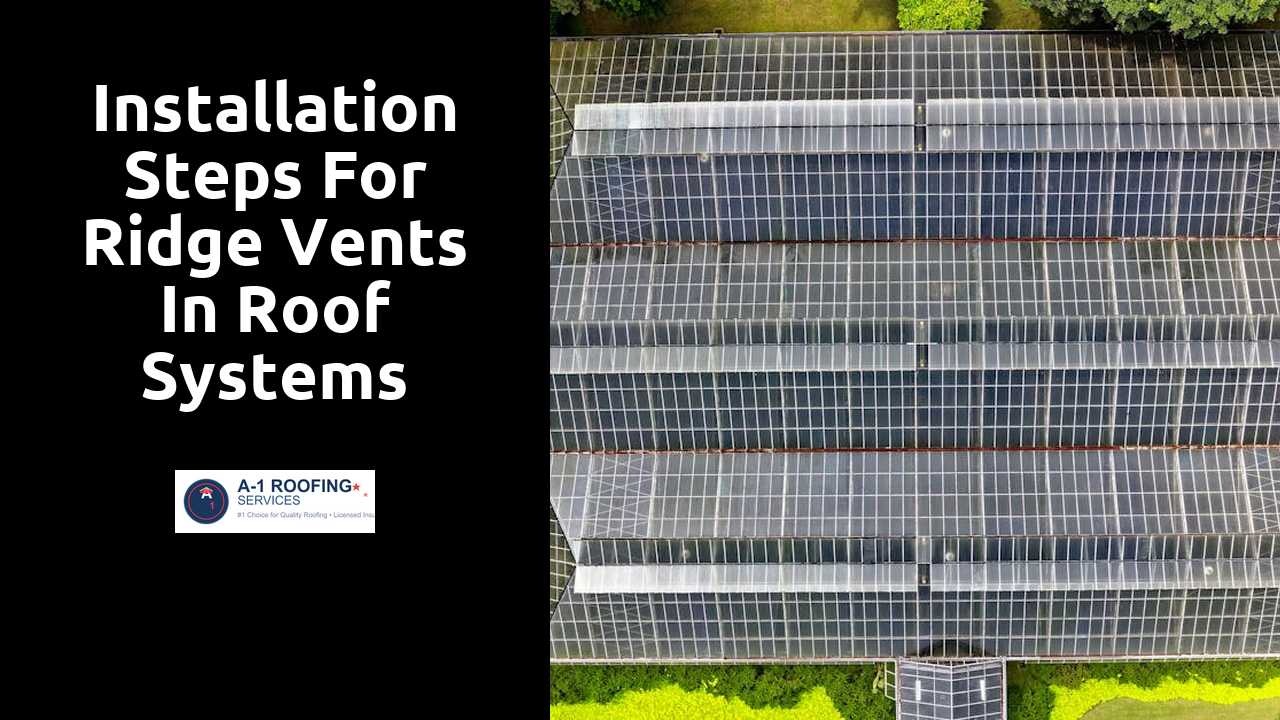
Installing the Vent
Begin the installation by positioning the ridge vent at the top of the roof. Ensure that the vent is aligned properly with the roof’s peak. Use a chalk line to mark the center of the ridge for accurate placement. Cut away any roofing material at the ridge if necessary to create a clean area for mounting. The vent should extend beyond the edges of the roof sheathing to allow for optimal airflow.
Next, secure the vent to the roof using roofing nails. Space the nails evenly along the length of the vent to prevent any potential lifting during high winds. It is essential to follow manufacturer instructions regarding the fastener type and placement. Once the vent is secure, check for any gaps between the vent and roof. Addressing these gaps before moving on to weatherproofing will prevent future leaks and ensure effective ventilation.
Discover more here.
Step-by-Step Process for Securing the Ridge Vent
Begin by aligning the ridge vent along the peak of the roof. Ensure that the vent extends evenly on both sides for uniform coverage. Use a measuring tape to confirm the correct positioning, making adjustments as necessary. Once properly aligned, secure the vent in place with roofing nails or screws. Place fasteners approximately every 12 inches along the vent length for optimal stability.
Next, meticulously check to ensure that the vent sits flush against the roof surface. This is crucial for preventing water intrusion. Apply roofing cement or an approved adhesive along the edges of the vent to create additional waterproofing. Remove any debris or obstructions that could interfere with proper sealing. Double-check that the ridge vent is firmly attached before moving on to the weatherproofing stage of the installation.
Weatherproofing the Installation
Proper sealing is essential to prevent moisture from infiltrating the roof system. Start by applying a quality roofing sealant along the edges of the ridge vent. Make sure to cover any nail holes and seams with the sealant as well. This attention to detail reduces the risk of water intrusion, which could lead to significant damage over time. Ensure that the sealant you choose is compatible with the roofing materials.
After applying the sealant, it is beneficial to install flashing as an added waterproofing measure. Flashing diverts water away from vulnerable areas, including intersections between the ridge vent and the roof. Carefully position the flashing over the installation, ensuring it overlaps the roofing material adequately. This extra layer of protection enhances the longevity of your roof, helping to maintain its integrity against harsh weather conditions.
Ensuring Proper Sealing and Protection Against Leaks
Proper sealing is essential to maintain the integrity of the ridge vent installation. Begin by applying a high-quality roofing sealant around the edges of the vent. This step helps to prevent moisture infiltration and protects the underlying roofing materials. It’s important to ensure that the sealant is evenly distributed for maximum effectiveness. Pay special attention to any seams or joints in the vent itself, as these are potential weak points where water could enter.
Additionally, flashing should be used in conjunction with the ridge vent to provide an extra layer of defense against leaks. Install the flashing over the vent and beneath the shingles on either side, allowing for proper overlap. This technique diverts water away from the vent while securing it firmly in place. Inspect all areas for gaps or imperfections. A well-executed sealing and flashing process minimizes the risk of roof damage and prolongs the lifespan of the roofing system.
Finishing Touches
After securing the ridge vent, the installation of cap shingles is the next important step. These shingles not only enhance the aesthetic appeal of the roof but also provide added protection against weather elements. Position the cap shingles over the ridge vent, ensuring they cover the vent adequately while allowing for air to flow through properly. Use the manufacturer’s recommended fasteners to secure each shingle, following the pattern that corresponds to your roofing type.
Attention to detail is essential during this final phase. Check for any gaps or areas that might need additional sealing to ensure complete protection from wind and rain. The finished appearance should be neat, with uniform alignment across the roofline. A well-executed installation will contribute to the longevity of the roof system and improve ventilation efficiency, making it crucial to take the time for this last step.
Installing Cap Shingles Over the Ridge Vent
Cap shingles play a crucial role in protecting the ridge vent and enhancing the overall appearance of the roof. Begin by selecting cap shingles that match the style and color of the existing roofing material. As you prepare to install them, ensure that the ridge vent is completely secure and free from debris. Align the first cap shingle at the peak of the roof, allowing it to slightly overlap the adjacent roofing material on either side. Use roofing nails to secure it in place, ensuring that the nails penetrate the roof sheathing for added stability.
Continue this process down the length of the ridge, overlapping each successive cap shingle by at least one inch. Pay attention to the direction in which you install the shingles, as this can affect water runoff and prevent leaks. After all cap shingles are installed, inspect the area for any gaps or loose shingles. A careful examination will help confirm that the ridge vent is adequately covered, thereby providing optimal protection against the elements.
Related Links
The Role of Attic Ventilation in Extending Roof LifespanDifferent Types of Roof Ventilation Systems Explained