Essential Guide to Home Roof Repairs
Table Of Contents
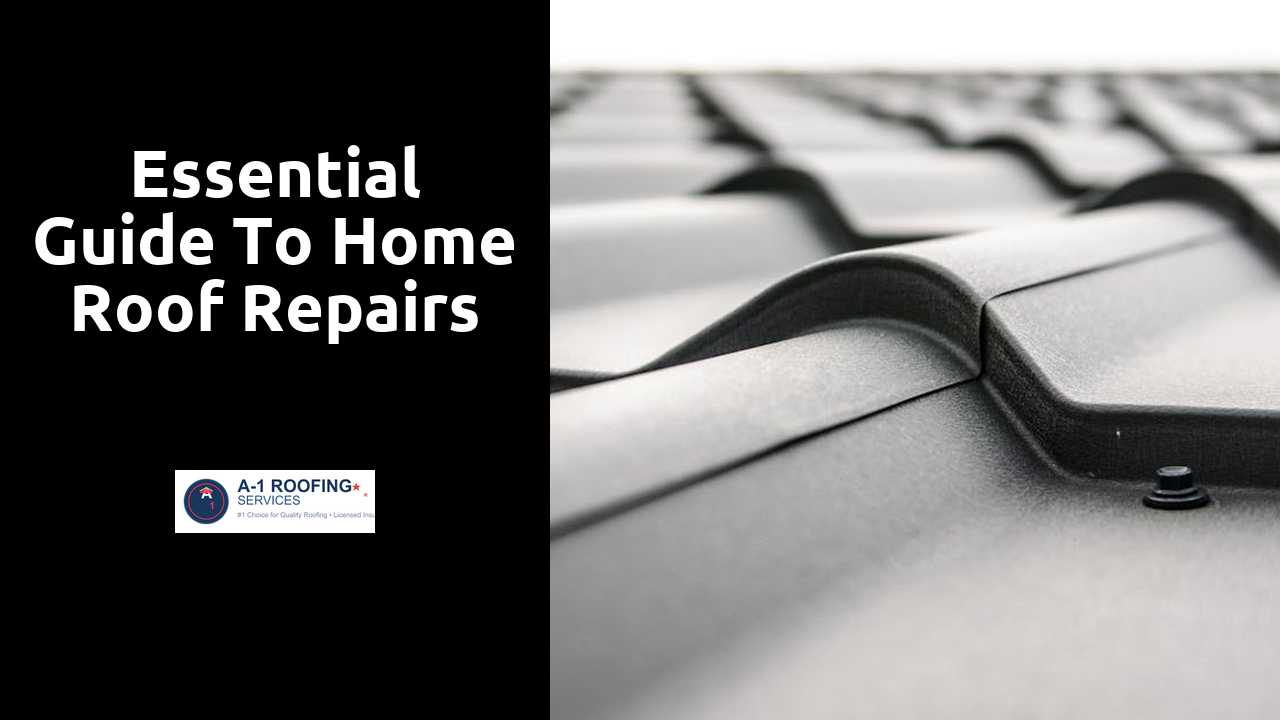
Repairing Shingles
Shingles are a critical component of your roof, shielding your home from weather elements while adding to its aesthetic appeal. When they become damaged, whether due to wind, hail, or general wear and tear, prompt attention is necessary to prevent leaks and further issues. Inspecting your shingles regularly can help identify problem areas early. Minor imperfections may only require patching, while severely compromised shingles may need full replacement.
To replace or patch shingles effectively, start by gathering the necessary tools and materials, including new shingles, roofing nails, and a sealant. For a patch, carefully lift the damaged shingle, apply the sealant, and press it down securely. In the case of replacement, carefully remove the entire shingle and slide a new one into place, ensuring it aligns correctly with adjacent shingles. Securing it with nails and applying a water-resistant sealant around the edges completes the job, preserving the integrity of your roof.
How to Replace or Patch Damaged Shingles
Damaged shingles can compromise the integrity of your roof, leading to leaks and further issues. To replace or patch shingles, start by assessing the extent of the damage. If only a few shingles are affected, you may be able to patch them. For a complete replacement, use a pry bar to gently lift the surrounding shingles and remove the damaged one.
Ensuring a proper fit for the new shingle is crucial. Apply roofing adhesive to the underside of the new shingle before placing it in position. Secure it with nails following the manufacturer's guidelines, and ensure the nails are properly sealed. For patches, make sure the edges are well adhered to prevent wind uplift or water penetration. Always check for proper alignment with adjacent shingles to maintain a uniform look.
Addressing Flashing Issues
Flashing plays a crucial role in preventing water leaks around vulnerable areas of your roof, such as chimneys, vents, and valleys. When properly installed, it directs water away from these regions, ensuring that moisture does not seep beneath shingles or other roofing materials. However, if flashing is damaged, rusted, or improperly installed, it can lead to significant leaks and subsequent water damage inside the home. Regular inspection of flashing areas is essential. Look for gaps, bending, or missing sections that could compromise the roof's integrity.
Repairing or replacing flashing should be approached with care to ensure a watertight seal. When addressing damaged flashing, the first step is to remove the old material carefully to assess the underlying waterproofing layers. New flashing should be made of durable materials, such as aluminum or galvanized steel, to resist rust and degradation over time. Ensure that the new flashing fits snugly and is properly sealed with roofing cement or an appropriate sealant to eliminate any potential leaks. Proper installation not only protects your roof but also prolongs its overall lifespan.
Importance of Proper Flashing Installation
Proper flashing installation is crucial for preventing water seepage and damage around roof intersections and penetrations. This protective barrier directs water away from vulnerable areas like chimneys, vent pipes, and skylights. When flashing is installed incorrectly, it can lead to leaks that compromise the integrity of the roof structure and create costly repairs down the line.
Using the right materials enhances durability and resistance to weather elements. Options such as stainless steel or copper offer excellent longevity when properly sealed and installed. Regular inspections should be conducted to ensure that flashing remains intact and effective in its protective role. An investment in proper flashing installation can save homeowners from extensive repairs and premature roof replacement.
Maintaining Your Roof After Repairs
Regular maintenance can significantly extend the lifespan of your roof and reduce the need for extensive repairs in the future. It is advisable to schedule inspections at least twice a year. During these inspections, check for any signs of wear and tear, including loose or missing shingles, debris accumulation, and any potential leaks. Addressing minor issues promptly can prevent them from developing into more significant problems.
Cleaning your gutters frequently is another key aspect of post-repair maintenance. Clogged gutters can lead to water buildup and increased pressure on the roof. Additionally, consider trimming back any overhanging branches that may interfere with the roof's surface. Maintaining a clean and clear area around your home contributes to healthy roof performance and helps to avoid unnecessary repair costs over time.
Regular Maintenance Tips for Longevity
Regular inspections play a crucial role in maintaining the roof's integrity. Homeowners should conduct visual checks at least twice a year, paying attention to signs of wear, missing shingles, or any debris accumulation. Clearing gutters and downspouts regularly prevents water buildup that can lead to leaks and damage. Trim overhanging branches to minimize the risk of falling limbs during storms, which can harm both shingles and the underlying structure.
When performing maintenance, homeowners should consider the climate and its impact on roofs. In areas with harsh weather or temperature fluctuations, materials may expand and contract, leading to potential issues over time. Applying a protective sealant can enhance longevity and offer additional waterproofing. Keeping attic spaces well-ventilated helps regulate temperature and moisture levels, further protecting roofing materials from deterioration.
Related Links
Common Roofing Issues and Their SolutionsBenefits of Preventative Roof Maintenance