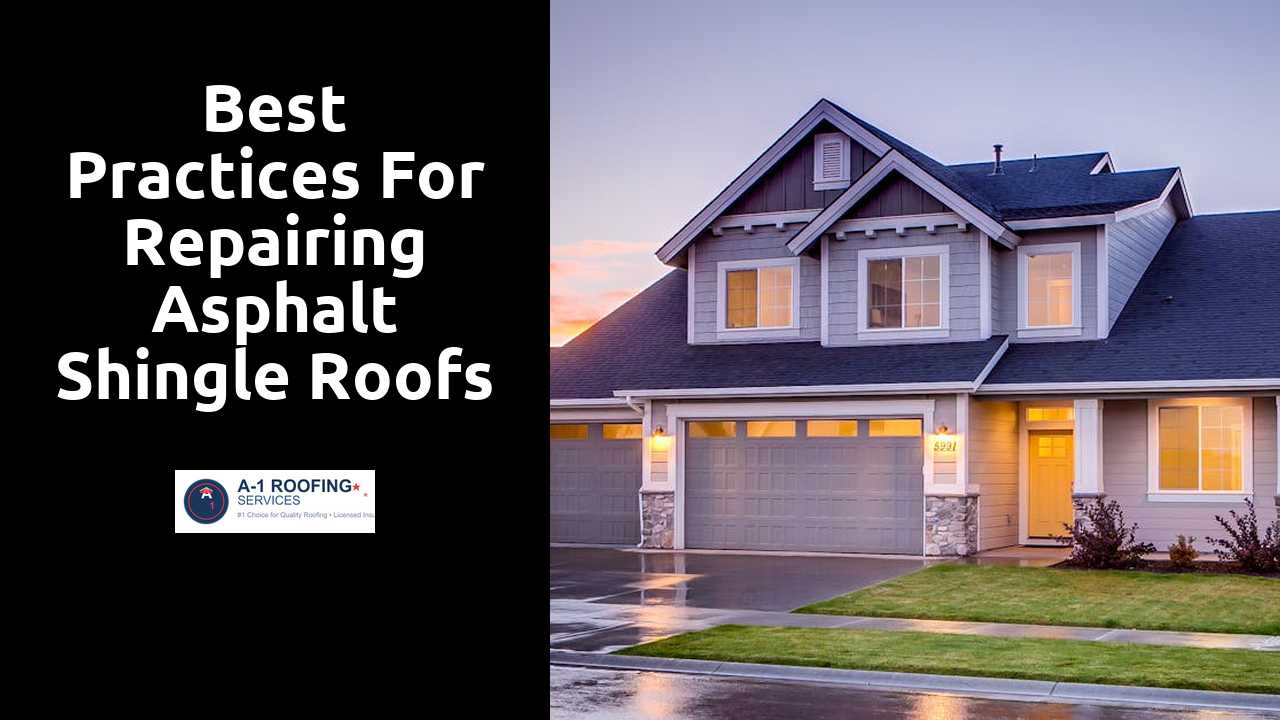
Best Practices for Repairing Asphalt Shingle Roofs
Table Of Contents
Preparing the Roof Surface
Before starting any repairs, it is essential to assess the condition of the existing roof surface. Remove debris such as leaves, twigs, and dirt, as these can trap moisture and lead to further damage. A clean surface allows for better adhesion of new materials. Inspect the roof for any signs of damage or wear, such as cracked, curled, or missing shingles. Addressing these areas promptly will prevent additional roof issues down the line.
After clearing the roof, any damaged shingles should be removed carefully. Use a pry bar to lift the edges of the shingles and avoid damaging surrounding materials. Check the underlying structure for rot or other problems that may need repair before proceeding. Once the area is prepared, it is crucial to ensure the surface is dry to provide a solid foundation for the new shingles. Proper preparation sets the stage for a successful repair job and enhances the longevity of the roof.
Find out further details by clicking here.
Cleaning and Inspecting the Area
Before starting any repair work, it is essential to ensure that the roof surface is clear of debris and dirt. Begin by removing leaves, branches, and any other materials that may have accumulated on the shingles. A broom or leaf blower works well for this task. Pay close attention to areas around vents, chimneys, and gutters, as these spots are prone to collecting debris, which can lead to water pooling and additional damage. Cleaning the roof not only helps to identify damaged shingles but also provides a safe working environment.
Once the area is clear, conduct a thorough inspection of the shingles to identify any signs of wear, tear, or damage. Look for curled, buckled, or missing shingles. Check for cracks or granule loss, as these indicators can signify structural issues or areas susceptible to leaks. Evaluate the flashings around chimneys and vents as well. Noting these details will assist in planning the necessary repairs, ensuring that you address all issues before proceeding with the installation of new shingles.
Installing New Shingles
Start by laying down a row of new shingles along the eaves. Ensure that the shingles are aligned straight to create a uniform appearance. Overlap the first course with the second to promote water shedding. This step is essential for preventing leaks and maintaining the integrity of the roof structure. Use roofing nails to secure each shingle properly, placing them in the designated nail strip for maximum effectiveness.
As you continue to add shingles up the roof, periodically check for level and alignment. Adjust as necessary to prevent misalignment that could lead to issues later. Ensure consistent nail placement to enhance durability. It is also crucial to follow the manufacturer’s guidelines regarding spacing and quantity of nails for each shingle type. Completing each section methodically can help achieve a well-finished look and secure installation.
Proper Techniques for Placement
When placing new shingles, start at the roof's edge and work your way up. Lay the first row with a slight overhang at the eaves to allow water runoff. Ensure that each shingle overlaps the one beneath it by at least six inches. This overlap prevents water intrusion under the shingles. Utilize a chalk line to keep rows straight and maintain uniform spacing. Nails should be placed in the manufacturer-recommended locations to maximize hold and ensure the shingles lie flat.
As you install the shingles, use a level to check for alignment. Adjust any shingles that appear crooked. Pay attention to the exposure of each shingle, as this can affect both aesthetics and performance. Adding additional fasteners in high-wind areas offers extra security. Be mindful of the surrounding environment, particularly trees or structures that may create obstructions. Adapting your installation strategy to the specific roof conditions will enhance the roof's performance and longevity.
Sealing and Waterproofing
After new shingles are in place, it is crucial to apply sealant to enhance waterproofing. A quality roofing sealant acts as a barrier against moisture infiltration, which can lead to damaging leaks and deterioration of underlying structures. It is recommended to choose a product specifically formulated for asphalt shingles, ensuring compatibility and optimal performance.
Applying a waterproof membrane in vulnerable areas such as valleys, around chimneys, and on roof penetrations provides an additional layer of protection. Properly sealing these areas helps prevent water from pooling or seeping into the underlying materials. When applying sealants, make sure to follow the manufacturer's guidelines for temperature, drying time, and application techniques to achieve the best results.
Ensuring Long-Lasting Protection
Proper sealing is essential for protecting asphalt shingle roofs from moisture and environmental wear. A high-quality roofing sealant should be applied carefully along the edges of the shingles. It's vital to ensure complete coverage, especially in areas prone to leaks, such as valleys and around chimneys. Ensuring that all starter shingles are also sealed will prevent water penetration at the critical junctions. Always follow the manufacturer's recommendations for application techniques and drying times to guarantee optimal performance.
In addition to sealing, regular maintenance plays a crucial role in extending the lifespan of a roof. Homeowners should schedule periodic inspections to check for any signs of wear or damage. Timely repairs can prevent small issues from escalating into significant problems. Gutter cleaning is another important task that helps maintain water flow and prevents pooling, which can lead to shingle deterioration. By addressing these elements proactively, the longevity of the roof can be significantly enhanced.
Related Links
How to Assess Roof Damage After a StormUnderstanding Roof Leaks and How to Fix Them